Mountain Sunrise Framed Wood Puzzle DIY | Step By Step Kit Guide
- Shelbe Brooks
- Aug 23, 2025
- 2 min read


Bring the beauty of the outdoors inside with our Mountain Sunrise Framed Wood Puzzle DIY Kit! This kit is beginner-friendly and comes with everything you need to create a rustic framed art piece for your home. Follow this guide for an easy step-by-step tutorial.
What’s in the Kit?
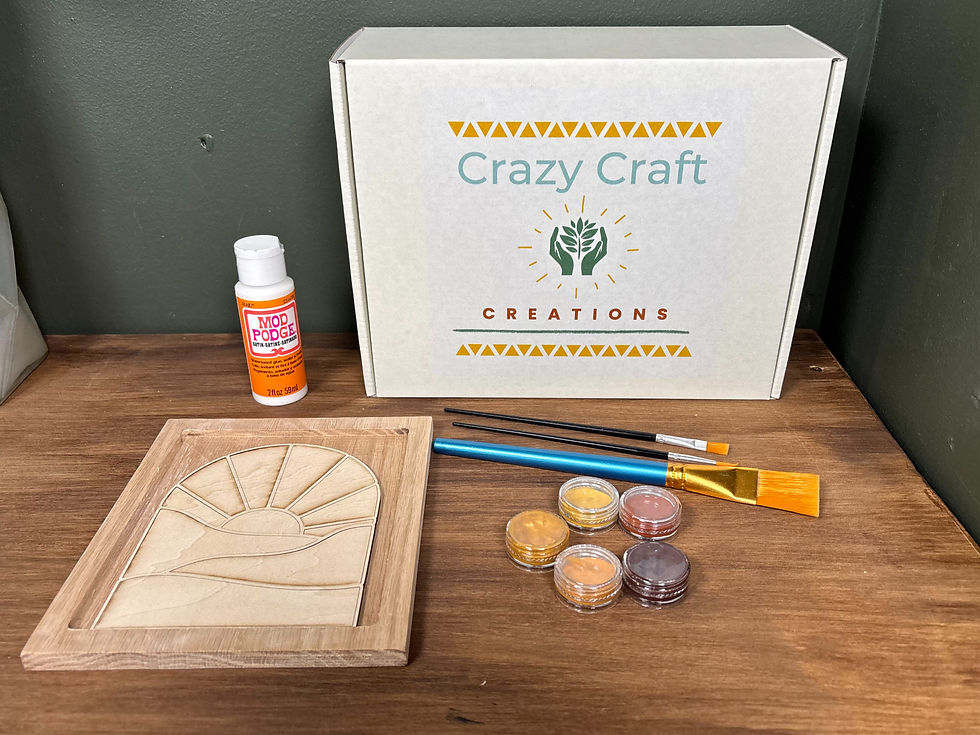
Your kit includes:
• Paints
• Paint brushes
• Laser cut wood puzzle pieces
• Wooden frame
• Mod Podge
Step 1: Paint the Puzzle Pieces

Lay out your wooden puzzle pieces and begin painting. Use the included paints to bring your mountain sunrise to life. Think soft sunrise pinks, warm oranges, and cool blues. Allow pieces to dry for 10–20 minutes before moving on.
Step 2: Prep the Frame

While your pieces are drying, brush a thin coat of Mod Podge on your wooden frame. This seals the wood and creates a smooth base for your puzzle assembly.
Step 3: Assemble the Puzzle

Now it’s time to put your puzzle together! Arrange your painted wooden pieces inside the frame and glue them down with Mod Podge. Watch as the scene takes shape.

Step 4: Seal with a Final Coat
Once everything is glued and dry, brush a final coat of Mod Podge over the entire piece to seal and protect your design.
This gives it a finished, polished look.
Step 5: Display Your Artwork
Your Mountain Sunrise Framed Wood Puzzle is ready! Hang it on the wall, lean it on a shelf, or gift it to someone special.
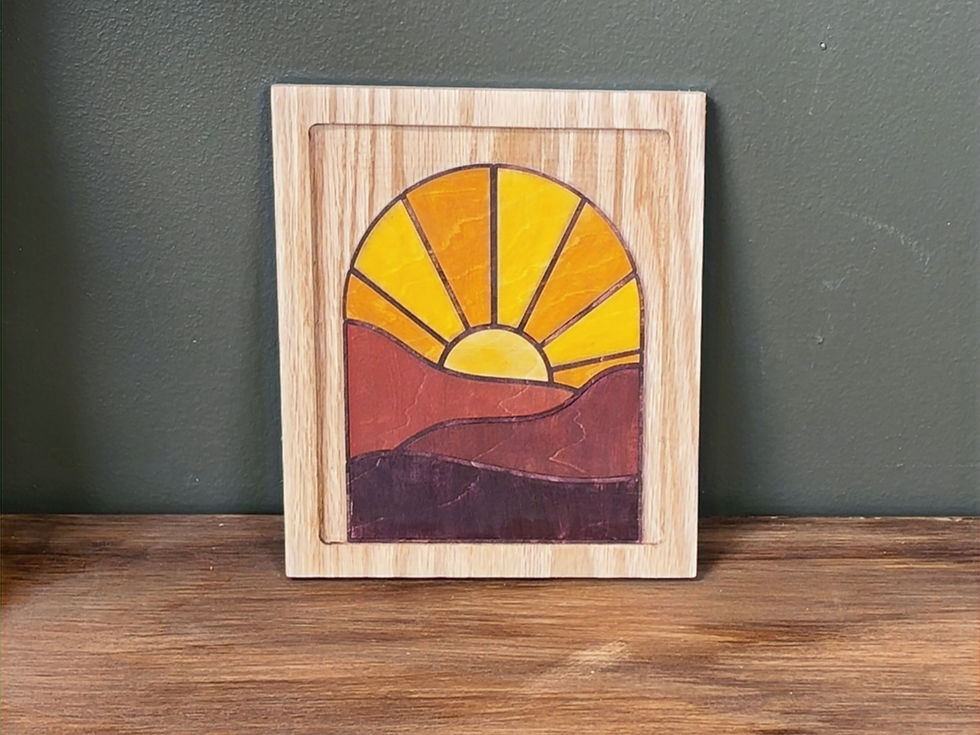
And you're Done!!
Love this project? Check out our full collection of DIY Craft Kits at https://www.crazycraftcreations.com/ .
Don’t forget to share your finished piece and tag us on social media! #crazycraftcreations #crazycraftcreationsdiy


Comments