Create Your Own Custom Name Sign Step By Step Kit Guide
- Shelbe Brooks
- Aug 15, 2025
- 2 min read


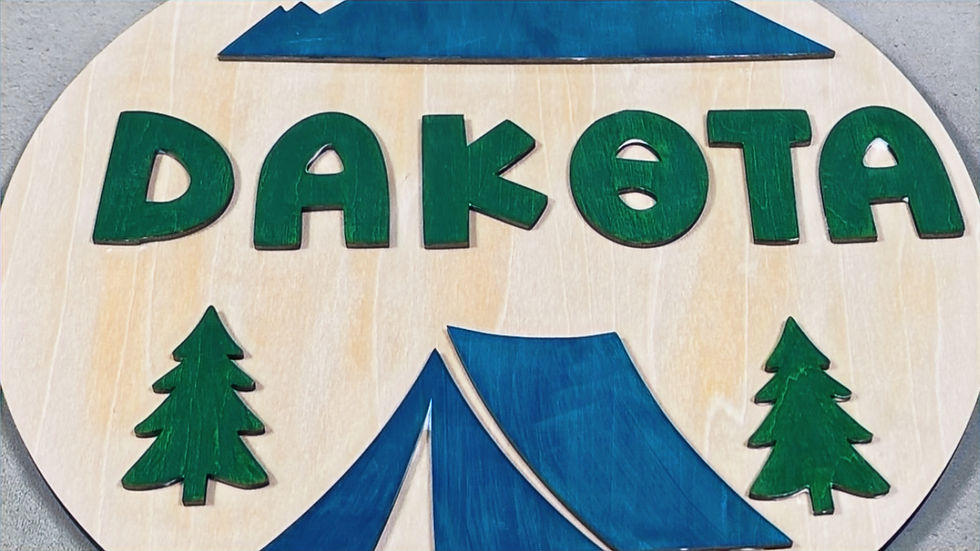
Make a one-of-a-kind name sign for a kids’ room, nursery, playroom, or entryway using our all-in-one kit. Follow the steps below—each with picture ideas so you can photograph as you go and turn this into a gorgeous tutorial post.
Time: 60–90 minutes (includes dry time)
Skill level: Beginner-friendly
Great for: Gifts, birthdays, baby showers, door décor

What’s in the Kit
• Wooden circular backing (sign base)
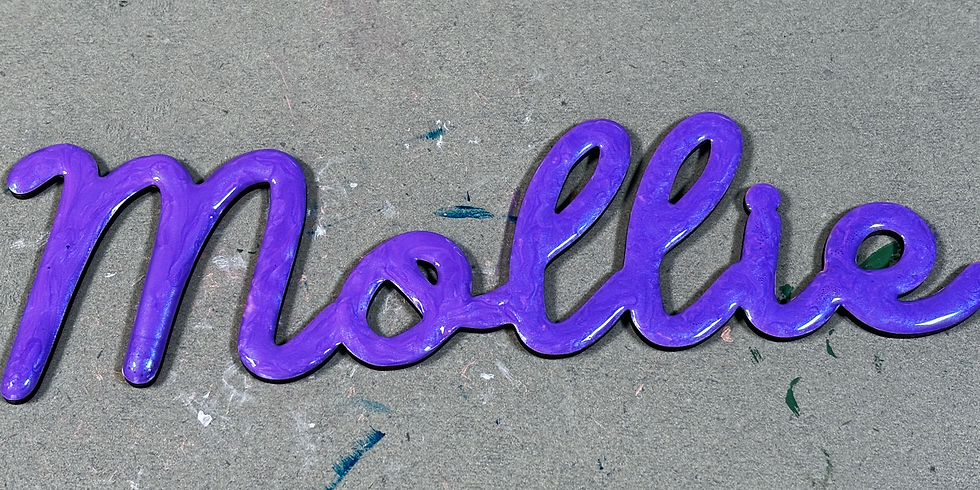
• Laser-cut name + décor cutouts
• Acrylic paints (assorted colors)
• Paint brushes
• Mod Podge (sealer/adhesive)
You’ll also want: paper towels, a cup of water, and optional gloves.
Step 1: Unbox & Plan Your Colors (1–2 min)

Lay out the name and décor cutouts on the wooden circle to preview placement. Pick your color palette (bold, pastel, or monochrome).
Step 2: Paint the Cutouts (10–15 min + 10–20 min dry)

Paint your name and décor pieces your way. Solid colors, ombré blends, or color-blocked shapes all look great.
Dry time: 10–20 minutes.
Step 3: Seal the Cutouts (5 min + 10–20 min dry)

Brush a thin coat of Mod Podge over each dried cutout to protect the paint.
Dry: 10–20 minutes.
Pro tips:
• Do 2 thin coats instead of 1 thick coat.
• Use a small brush for edges and letters.
Step 4: Finish the Board (10–15 min)

Choose your look
• Painted base: Paint the wooden circle (solid, two-tone, or color-blocked).
• Rustic wood: Leave natural and show the grain.
Prep/Seal: Add a thin coat of Mod Podge to the board (painted or rustic) to prep the surface.
Step 5: Glue Down the Cutouts (5–10 min + 10–20 min dry)

Do a dry fit first. When happy with spacing, brush Mod Podge on the back of each piece and press onto the board.
Dry: 10–20 minutes with light pressure (a clean book or your palm).
Step 6: Final Seal (3–5 min + 10–20 min dry)
Brush a light, even coat of Mod Podge over the entire sign to lock everything in.
Dry: 10–20 minutes. Handle edges only until fully cured.
Style & Hang
Let cure fully, then hang on a wall or door (Command strips, sawtooth hanger, or ribbon).

Design Ideas to Try
• Color-blocked base: Tape a diagonal and use two complementary colors.
• Pastel pop: Pastel base with bright letters.
• Shadow letters: Paint letters one color, then offset a darker “shadow” layer behind (if you have a second name layer).
• Theme it: Dinosaurs, flowers, stars, sports icons—match your décor cutouts.
Troubleshooting & FAQs
My paint looks streaky.
Use thinner coats and let each dry before adding the next. A soft synthetic brush helps.
Letters won’t stick well.
Make sure both surfaces are dry and dust-free. Add a bit more Mod Podge, press 30–60 seconds.

Brush lines after sealing.
Use a light hand and longer strokes; avoid over-brushing as Mod Podge starts to set.
Is Mod Podge safe indoors?
It’s water-based and non-toxic. Use normal craft ventilation and keep out of reach of kids until dry.
Supplies Recap
• Wooden circular base
• Laser-cut name + décor pieces
• Acrylic paints
• Paint brushes (small + medium)
• Mod Podge
• Water cup & paper towels
• Craft mat/scrap paper
• (Optional) Painter’s tape, ruler, pencil


Comments